Registration and Social Login
Registration and Login via Facebook, Google and Twitter
The theme provides Ajax (free) plugin, please install and activate it. We’re using it to show the login form in an overlay box, not the regular WordPress login page.If your visitors have Facebook, Twitter or Google profiles, they can register to a site with a single click, and later to log in too. There are two plugins included to the theme that provide this type of functionality: Nextend Facebook Connect and Nextend Google Connect.
Installation and Setup
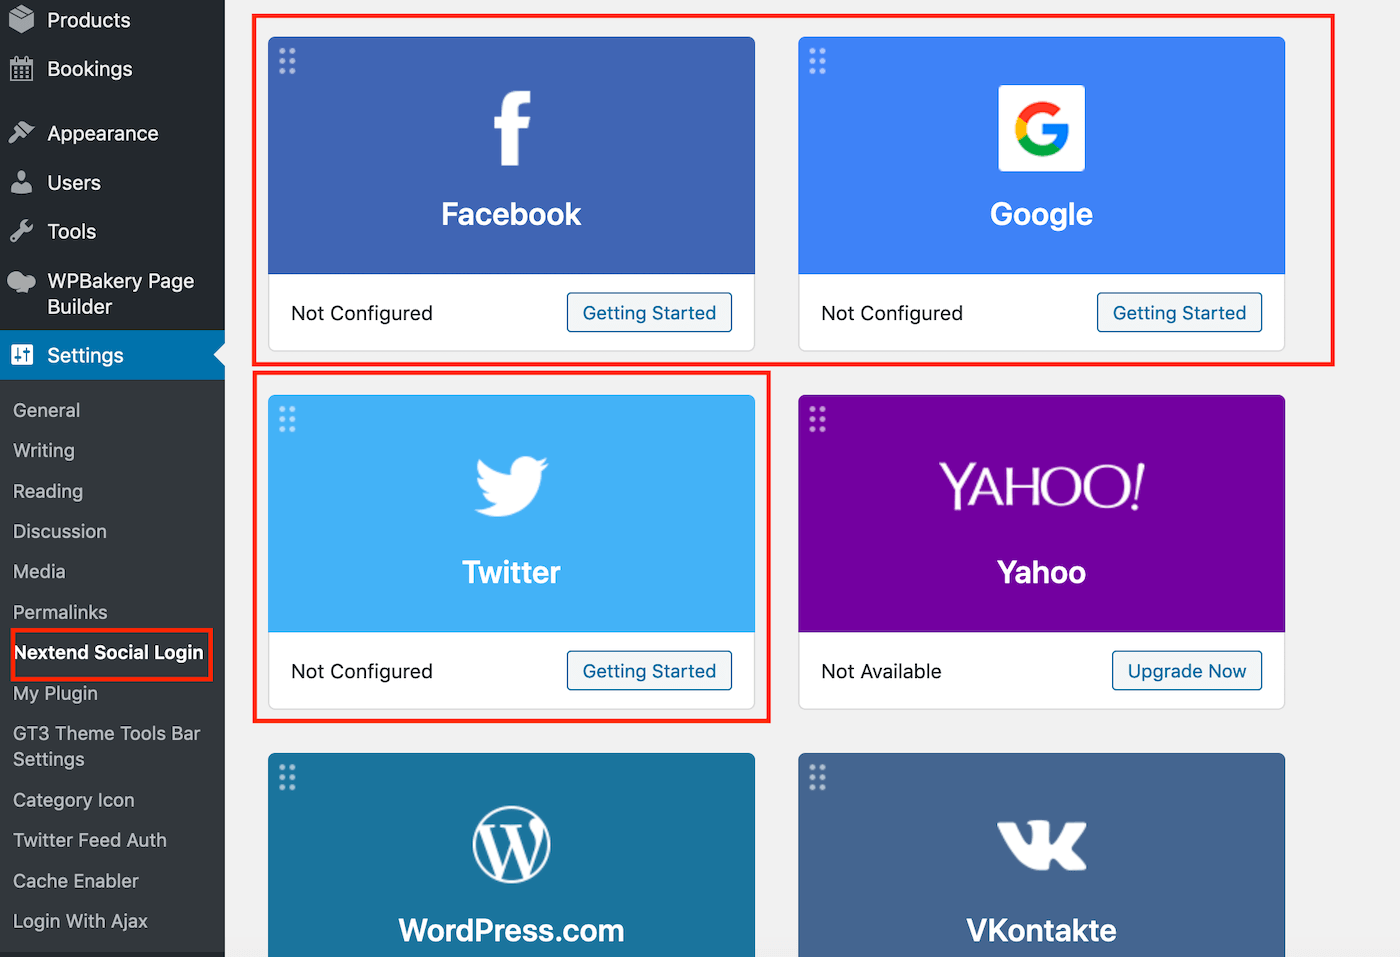
Please don’t download plugins from official site. They are built-in to the theme and the top notification will suggest you to install them. After you installed and activated plugins, the plugin will automatically add the login buttons to the WordPress login page. You need to follow the steps to activate the tabs.
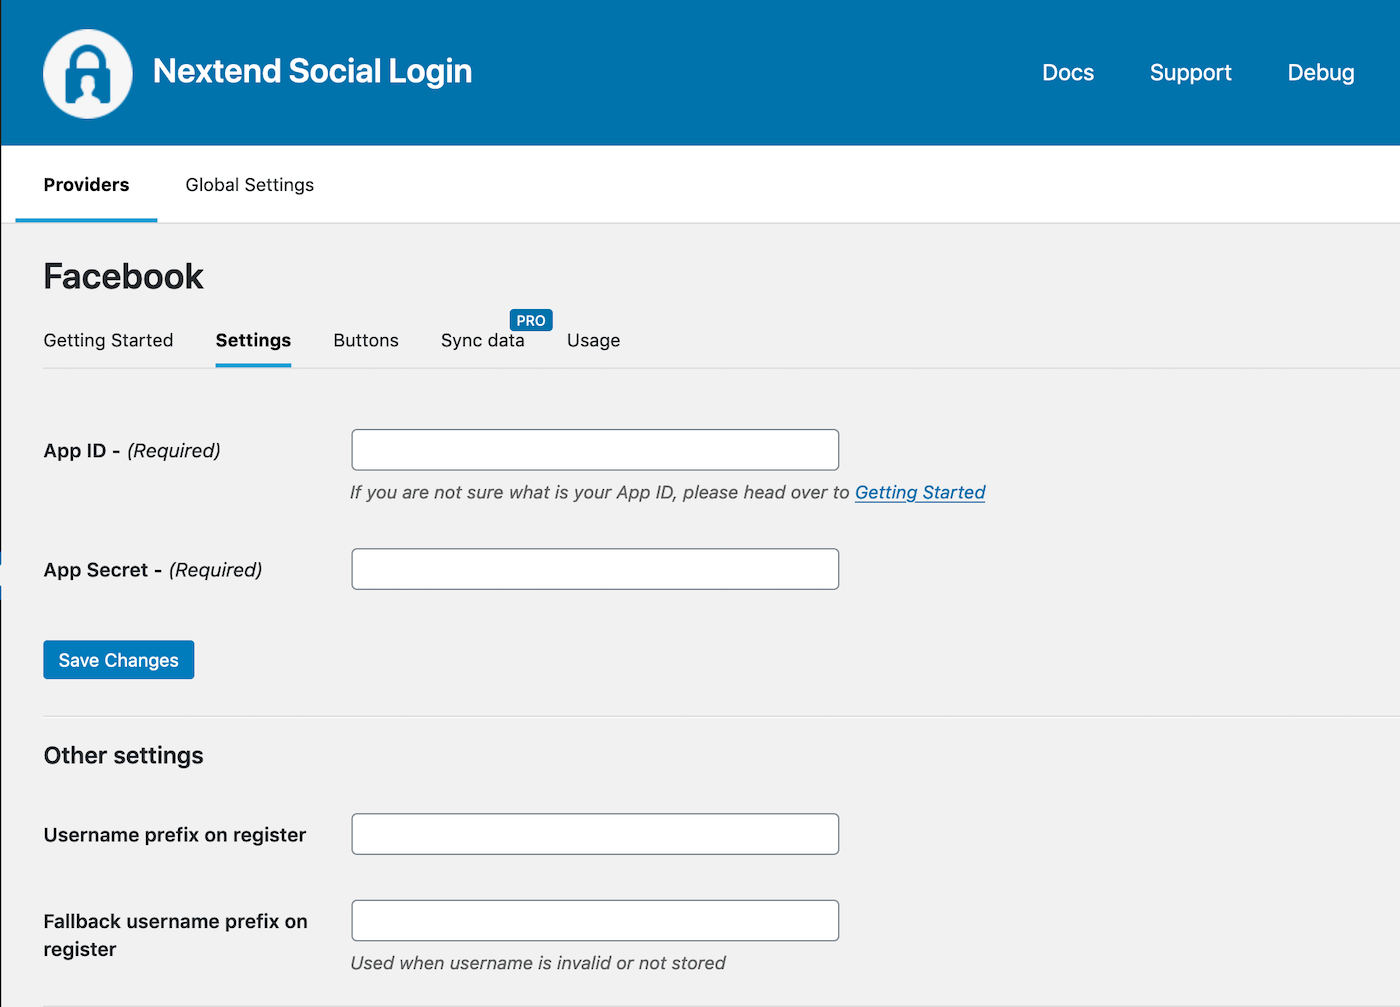
Nextend Facebook Connect
Step 1 – create a facebook app => https://developers.facebook.com/apps/.
Step 2 – don’t choose from the listed options, but click on “advanced setup” in the bottom. Choose an app name, and a category, then click on Create App ID. Pass the security check.
Step 3 – go to the Settings of the application. Click on + Add Platform, and choose Website. Give your website’s address at the Site URL field with: http://yoursiteurl.com
Step 4 – give a Contact Email and click on Save Changes. Go to Status & Review, and change the availability for the general public to YES.
Step 5 – go back to the Settings, and copy the App ID, and APP Secret. Paste them into your website’s Settings -> Nextend Settings. Save changes.
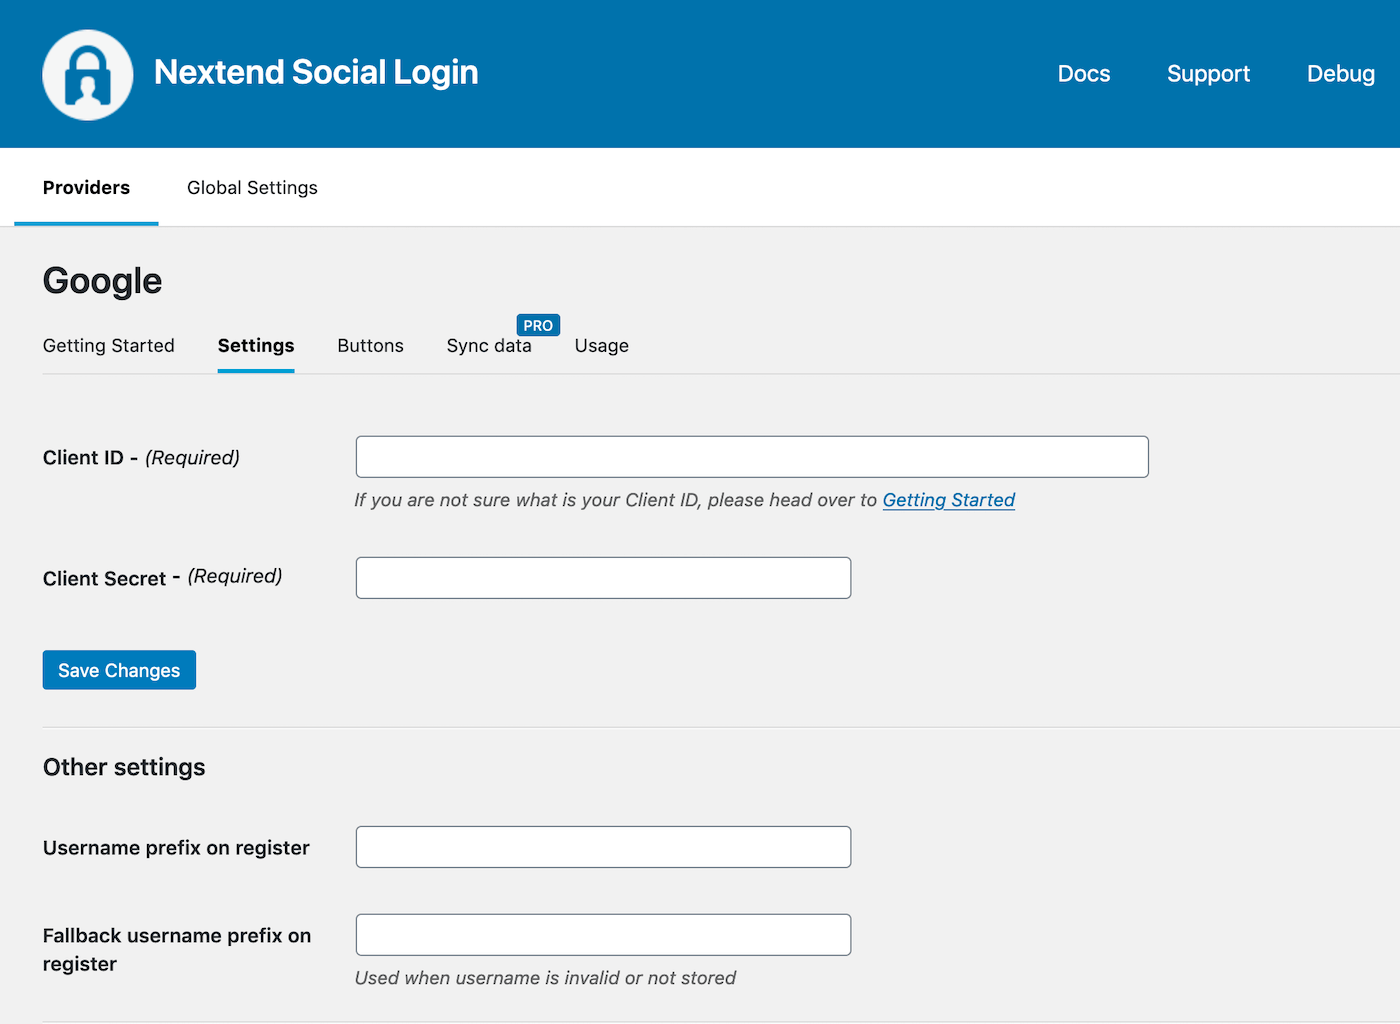
Nextend Google Connect
Step 1 – add your domain to Google system! => https://support.google.com/a/answer/. The bottom of the page will contain a link to your domain. Click on it and follow Google’s veryfication steps. After you are done, create and API access.
Step 2 – create a new API access with your product name. Search for the Google+ API row and enable the service. Then click on the API access panel and create and OAuth 2 clien ID!
Step 3 – product name can be anything then click on next. Click on the more options link and copy and paste http://yourwebsitedomain.com/wp-login.php?loginGoogle=1 to the textarea.
Step 4 – go back to the Settings, and copy the Client ID, Client Secret and API key. Paste them into your website’s Settings -> Nextend Settings. Save changes.
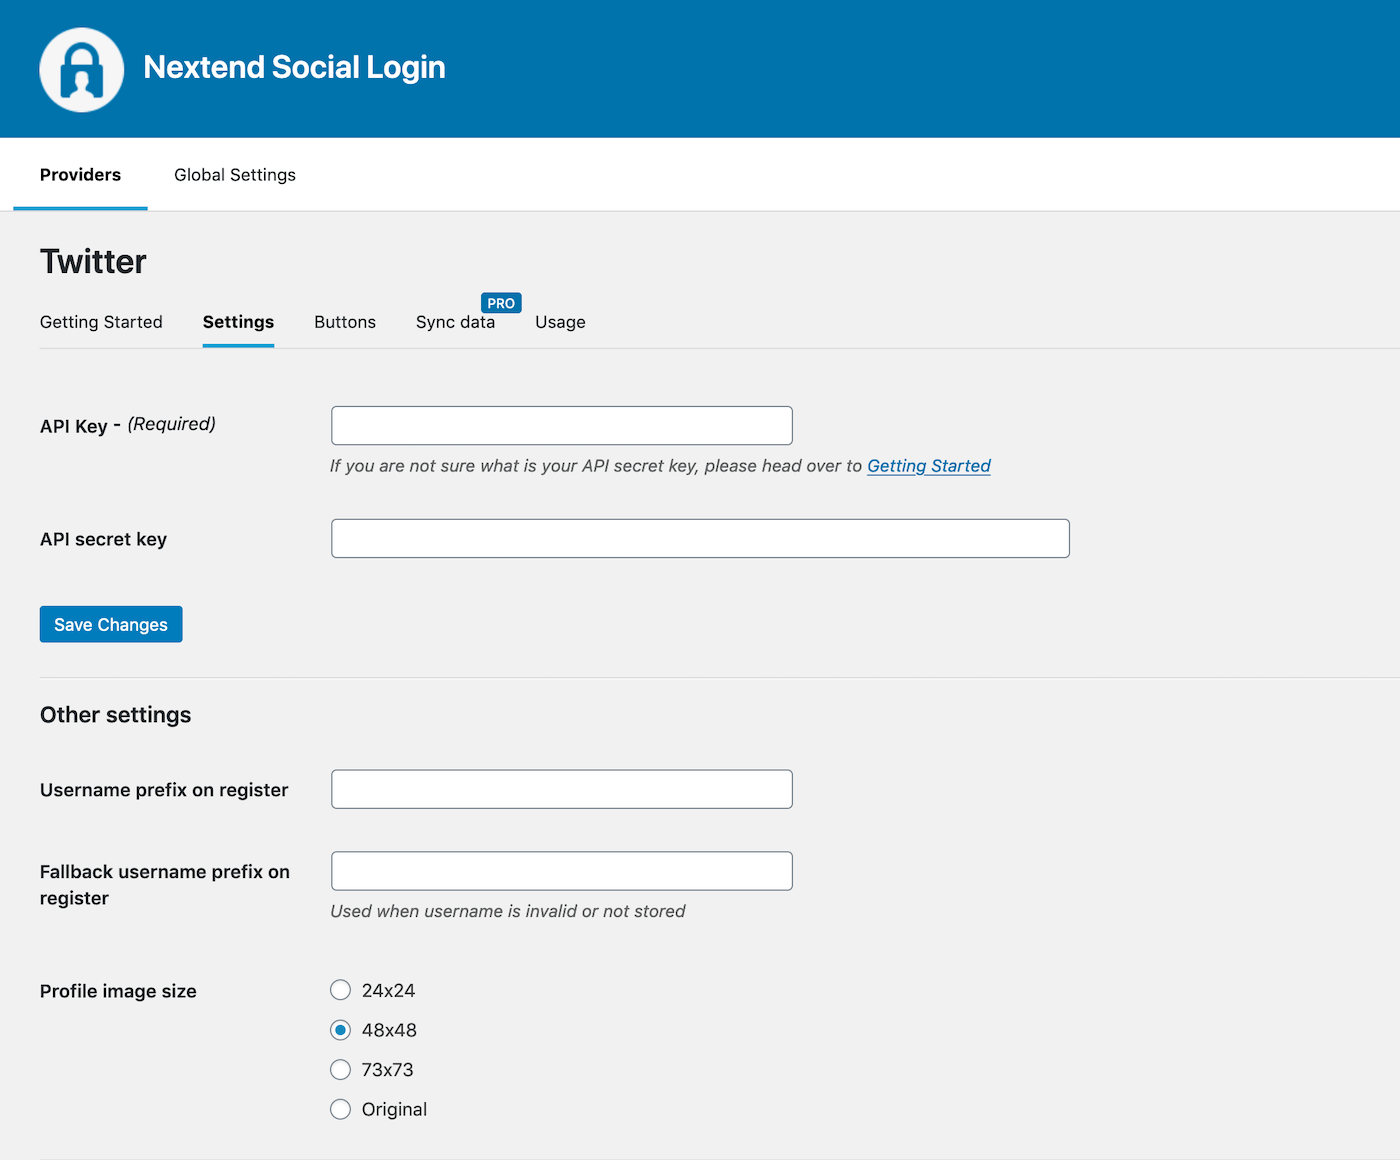
Nextend Twitter Connect
Step 1 – create Twitter App=> https://apps.twitter.com/.
Step 2 – choose an App Name, it can be anything you like. Fill out the description and your website home page.
Step 3 – add callback url. Accept the rules and Click on Create your twitter application. The next page contains the Consumer key and Consumer secret.
Step 4 – go back to the Settings, and copy the Twitter Consumer key and Twitter Consumer secret. Paste them into your website’s Settings -> Nextend Settings. Save changes.