Portfolio Page Setup
Setup Using GT3 Builder
To create a standard portfolio page with columns layout on your site, please follow the steps below:
1. Go to Portfolio section in the main WordPress menu and click Add New (this is a single portfolio item page, not the parent portfolio);
2. The first thing you have to do is to choose a post format, it can be (standard, image, video), you can choose it on the right side in Format section;
3. Then please add the content to your portfolio item page, text, featured image (very important as it will be a thumbnail for your portfolio page);
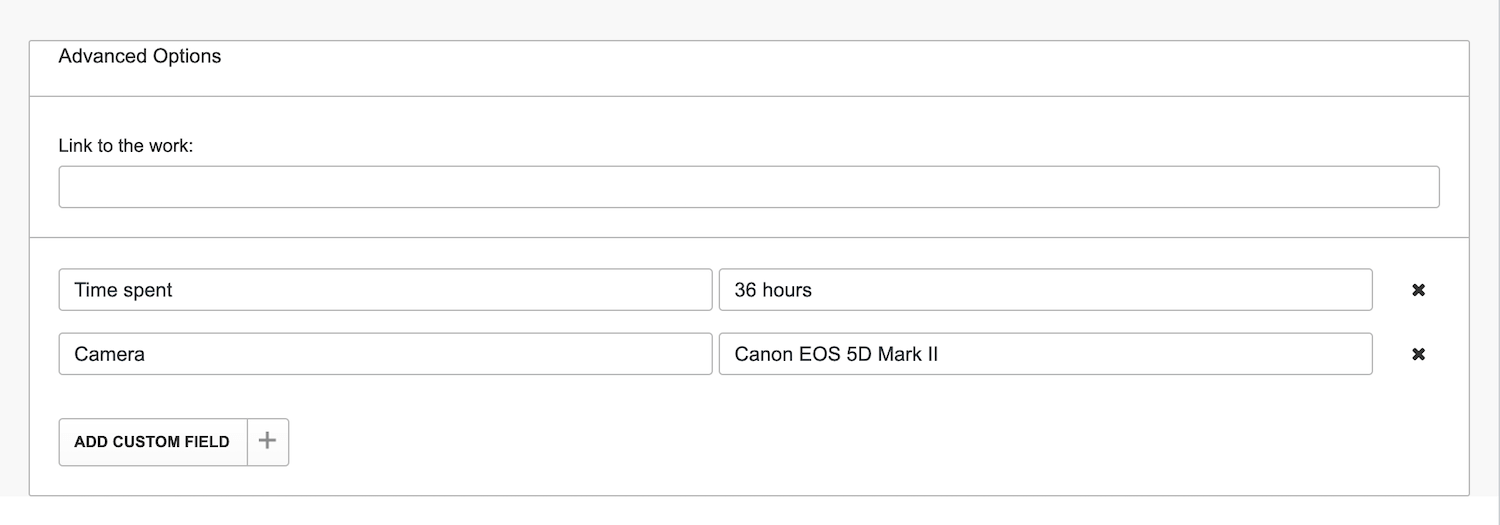
4. If you want to link the portfolio item from the portfolio page to another source which is out of your current site, please use “Advanced Options” below the page builder section;
5. You can also add custom fields to the portfolio item (please use “Advanced Options” below the page builder section), they will be displaying in the tag line, see screenshot below;
6. When all the items have been created, it’s time to create a portfolio page, please go to the pages section and add a new page;
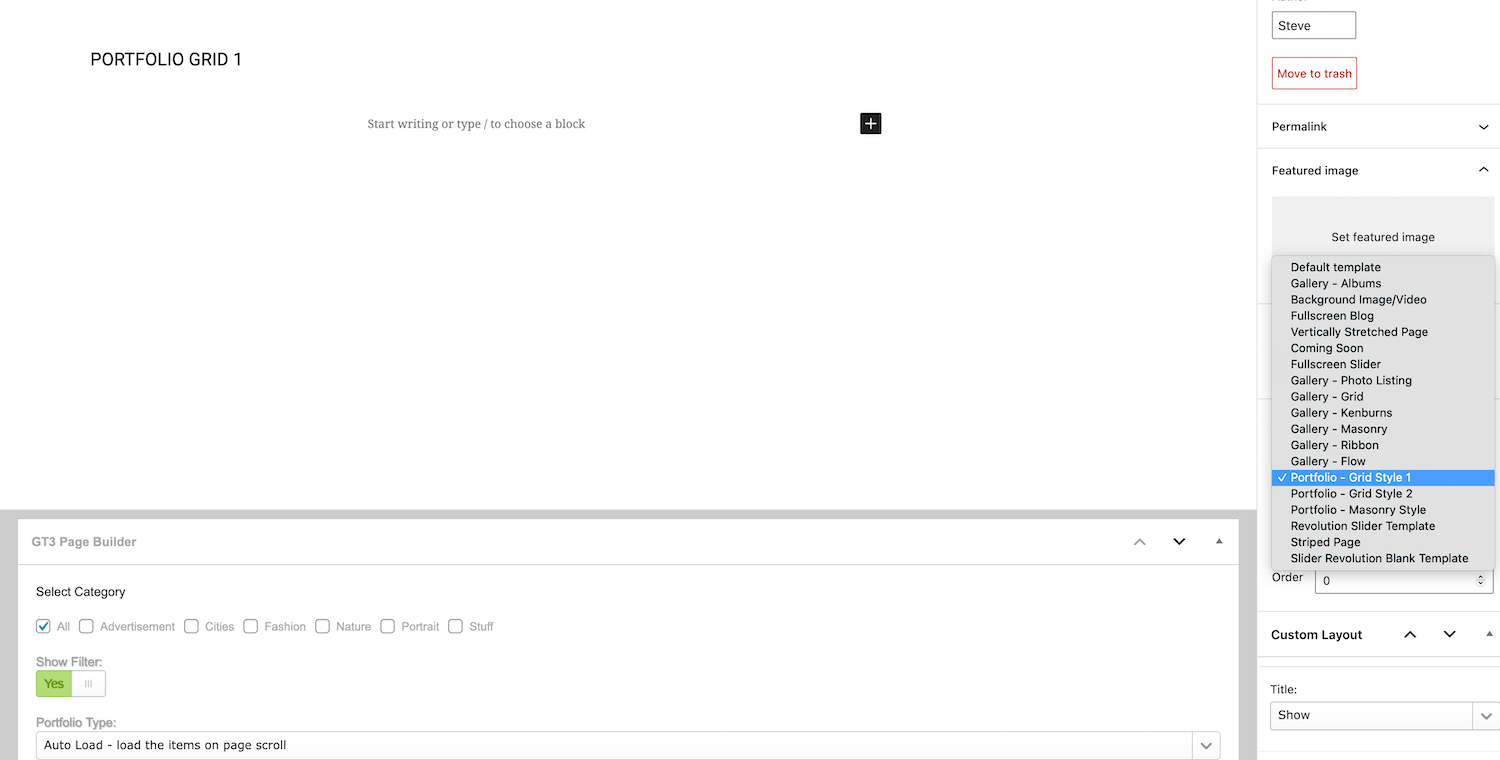
7. Go to the GT3 Page Builder and add a Portfolio Module;
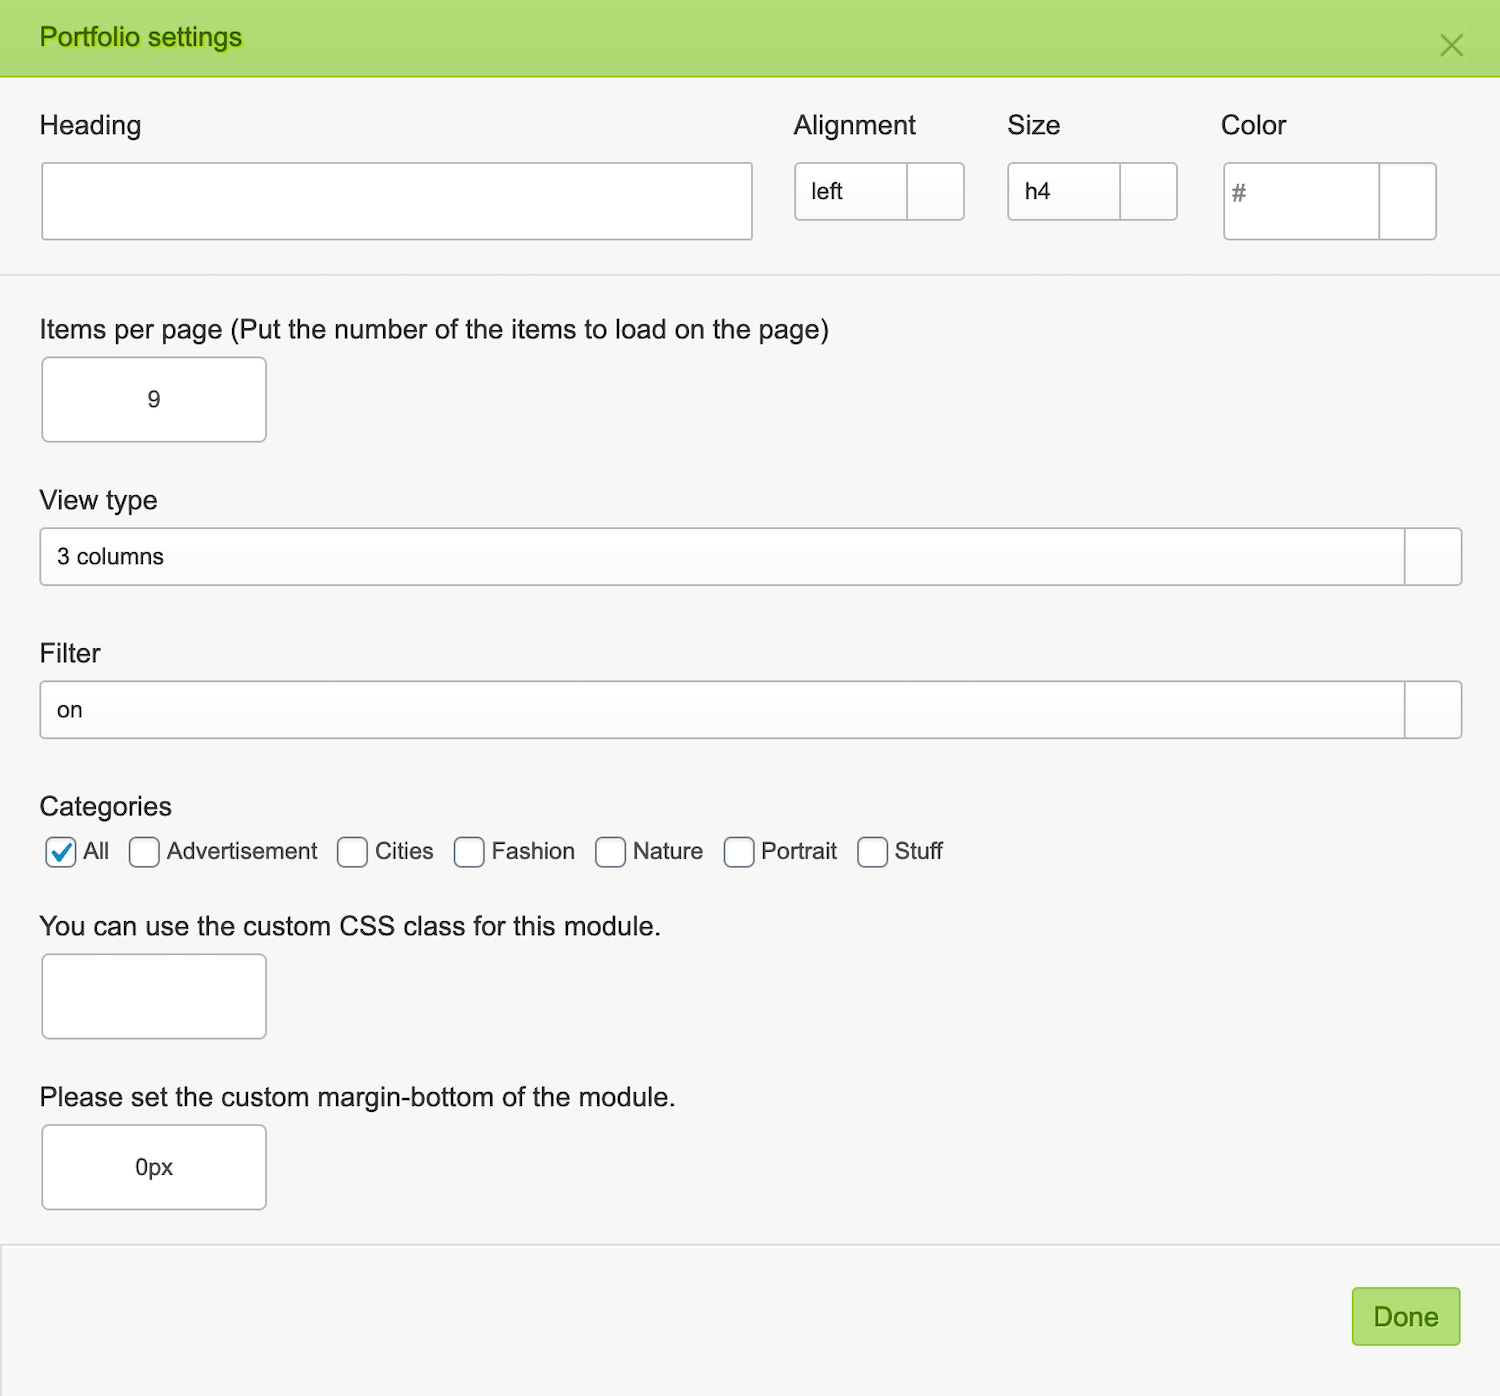
8. Check the module settings, just click edit. Right there you can choose number of items per page, view type (1,2,3,4 columns), enable/disable filter, select the category etc;
9. Once it is done, save the changes, and preview the page.
Portfolio Setup Using a Template
1. Go to Pages section in the main WordPress menu and click Add New;
2. On the right side area in Page Attributes section select one of the Portfolio templates: Portfolio Grid Style 1, Portfolio Grid Style 2 or Portfolio Masonry Style. Don’t forget to publish the page.
3. Page template will display the items you created in Portfolio section automatically. That’s all.
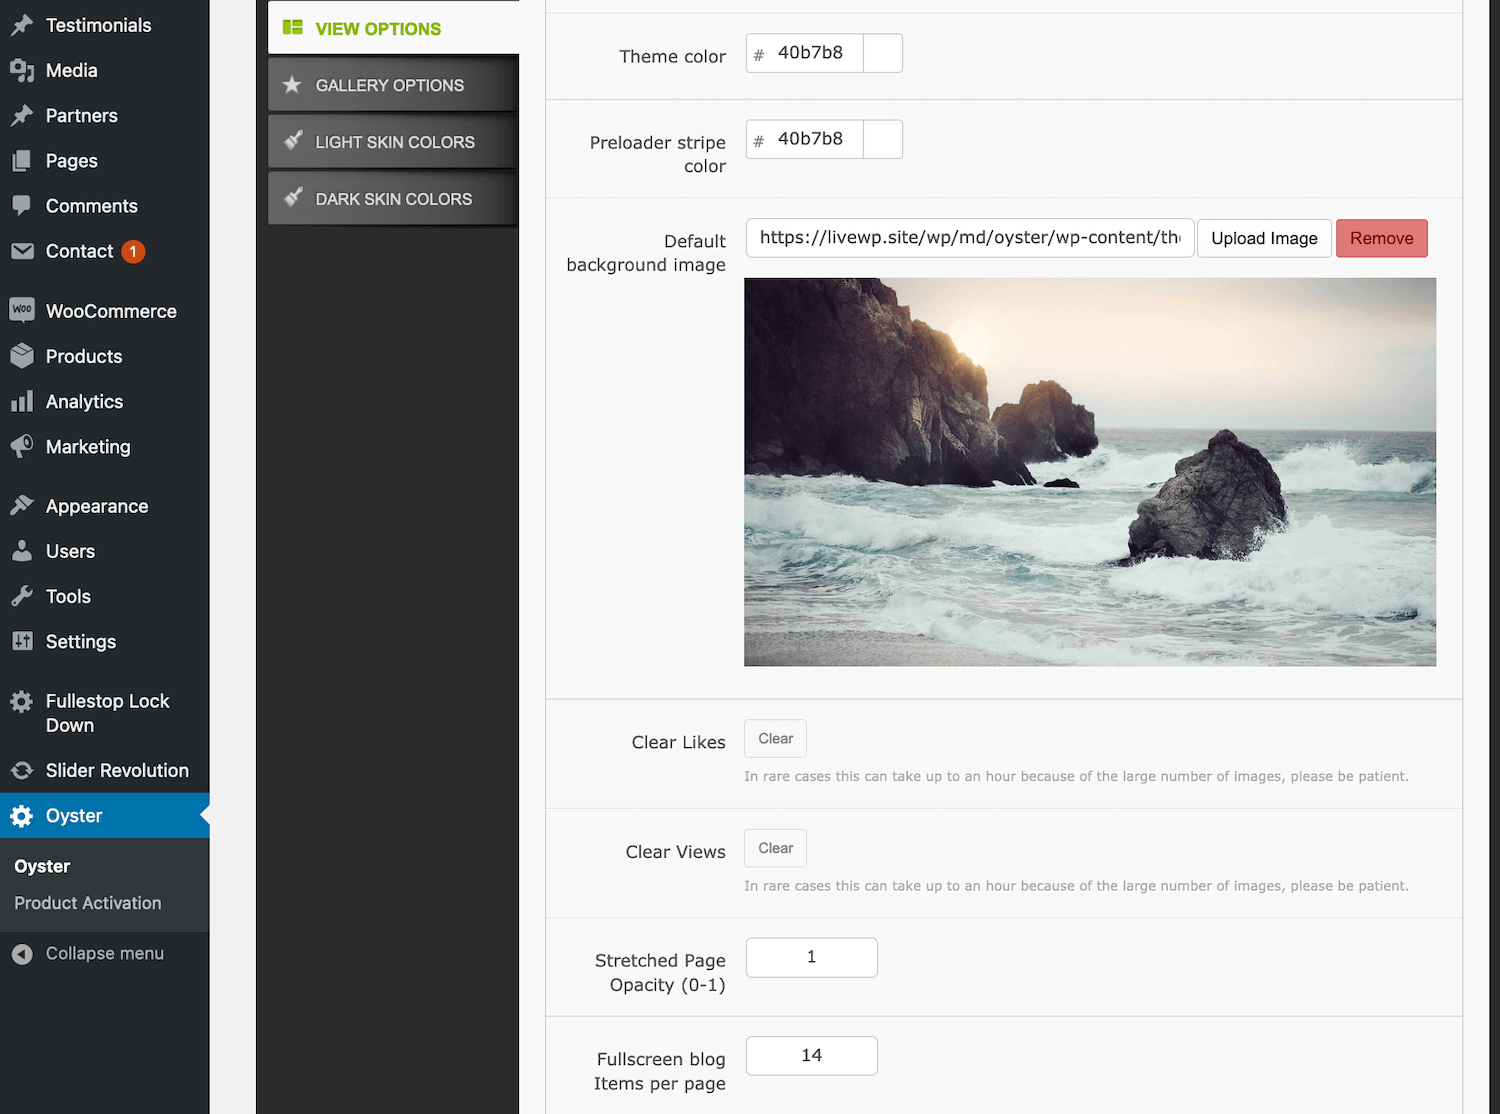
Note, you can select how many items per page can be displayed on the page. Please go to Oyster theme options panel => View Options => Fullscreen Portfolio Items per page field.